You can find the rulebook on boardgamegeek.com.
For any matters related to this website and this implementation, please contact me.
A few details about some items from the menu
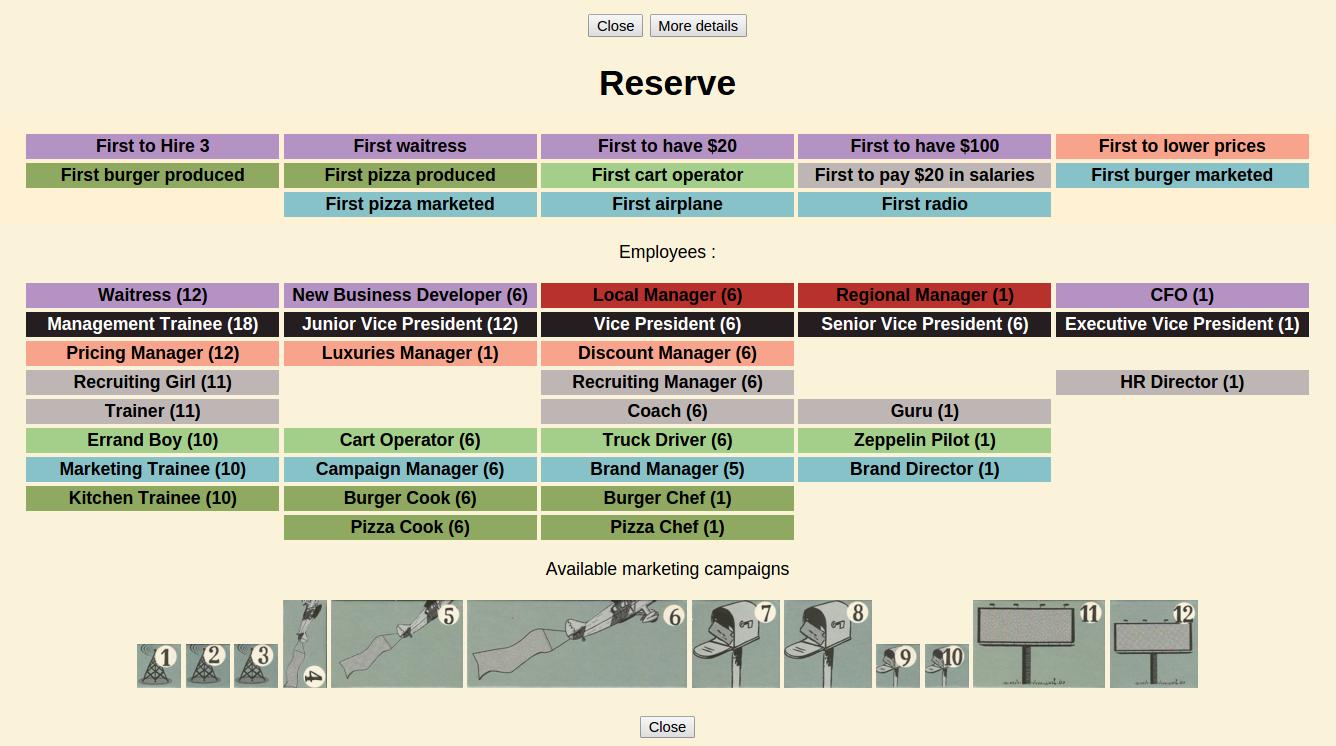
Click on the reserve button to display what is left. The "more details" button gives details about the milestones, and the employees.
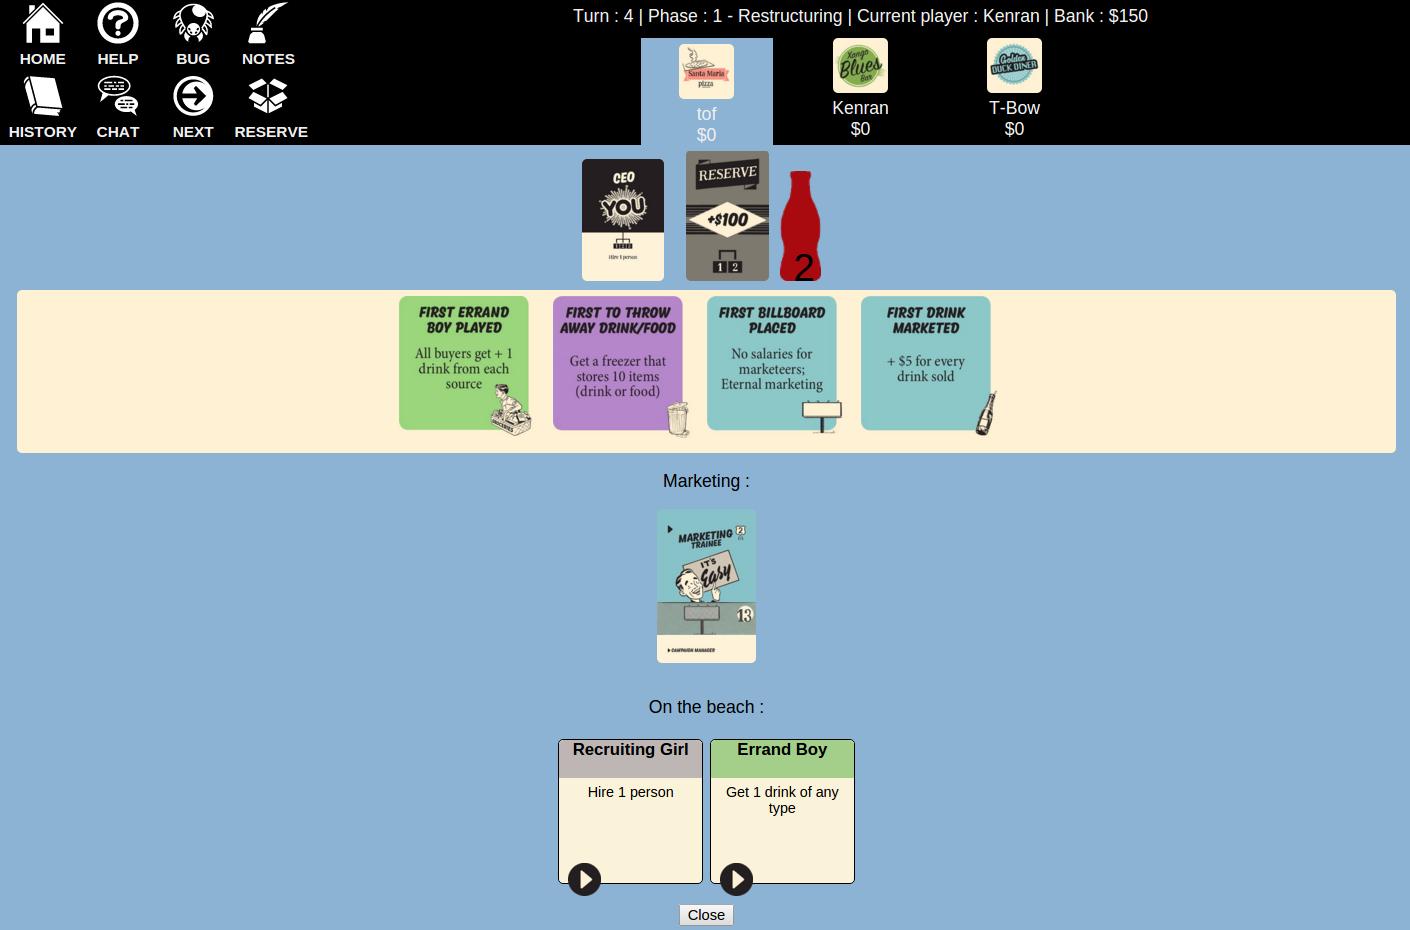
Click on a player icon to display information related to this player

Reserve cards related to the "First to have $20" milestone are shown under the player's milestones
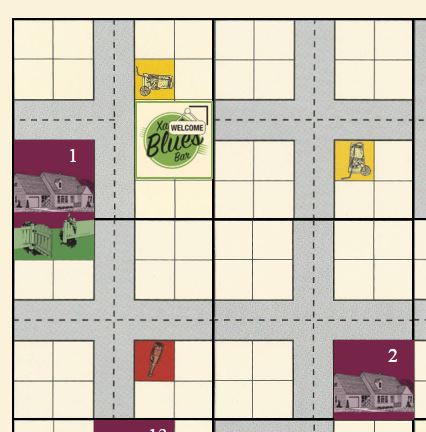
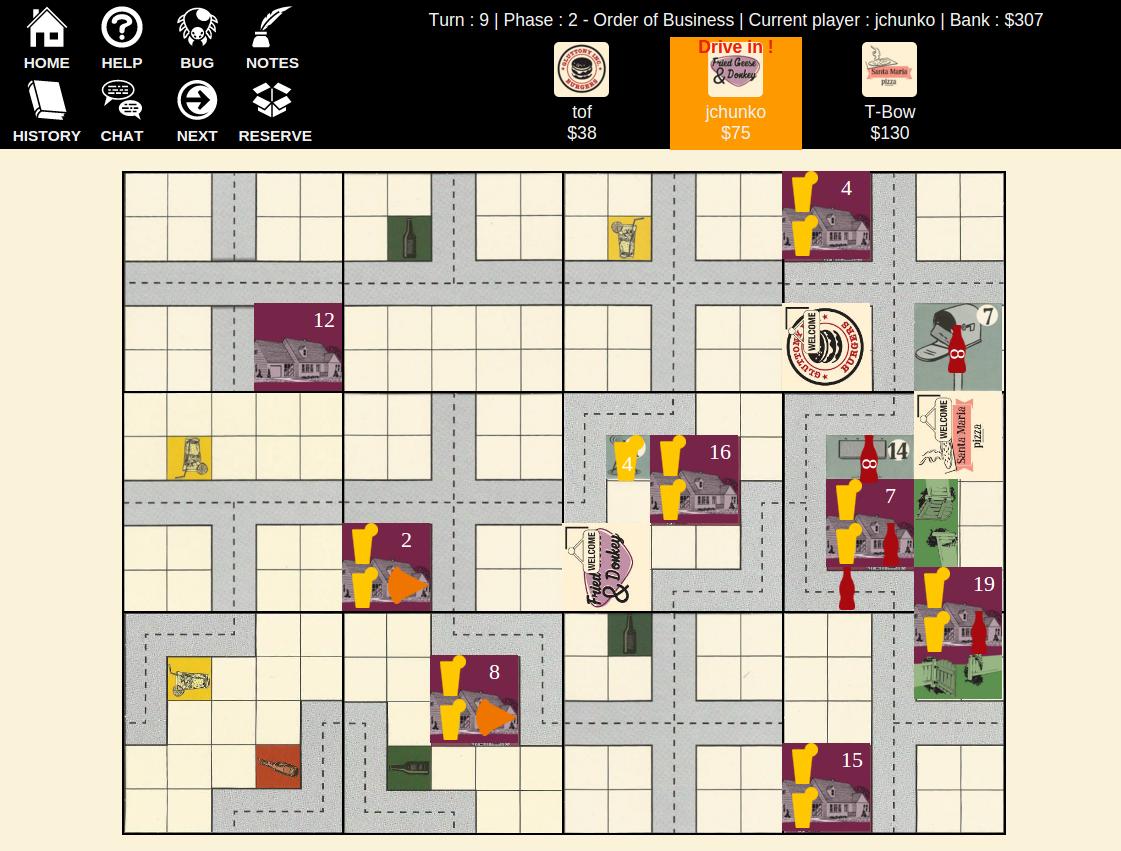
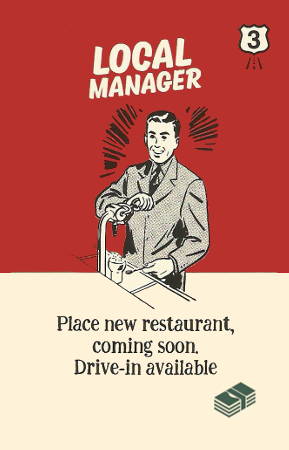
If you have a local manager or regional manager in your structure, then you have the drive-in ability, as per the rules. It is reminded by a small red text over the player's name.
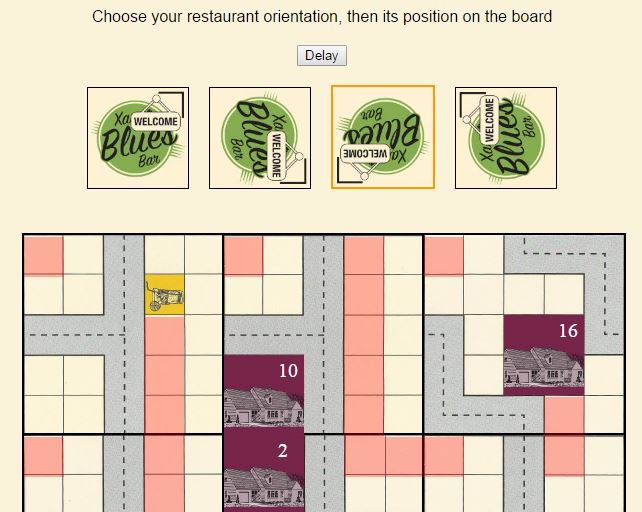
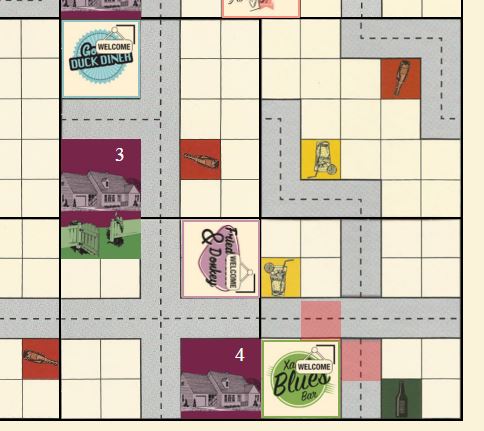
When you start the game, you have to choose a place for your first restaurant. You have to select first one of the four orientation, and then click on the map on any red space that suits you. All the possible spaces are shown on the map.
Reminder: the red square is for the top-left space of your restaurant, not the entrance.
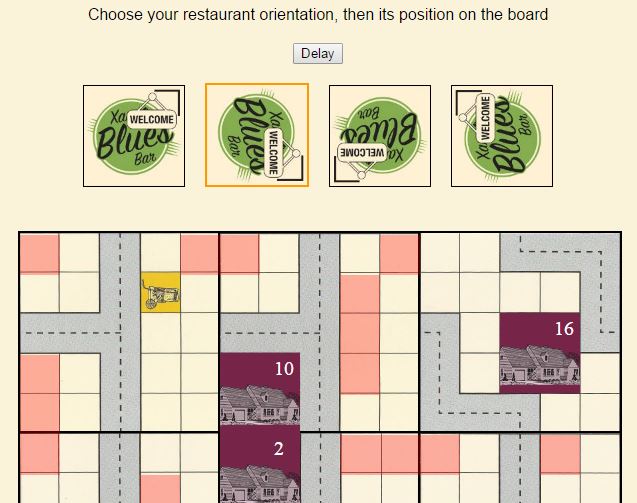
If you choose another rotation, the map changes accordingly :
A simple reminder from the rulebook, but it can be useful for beginners :
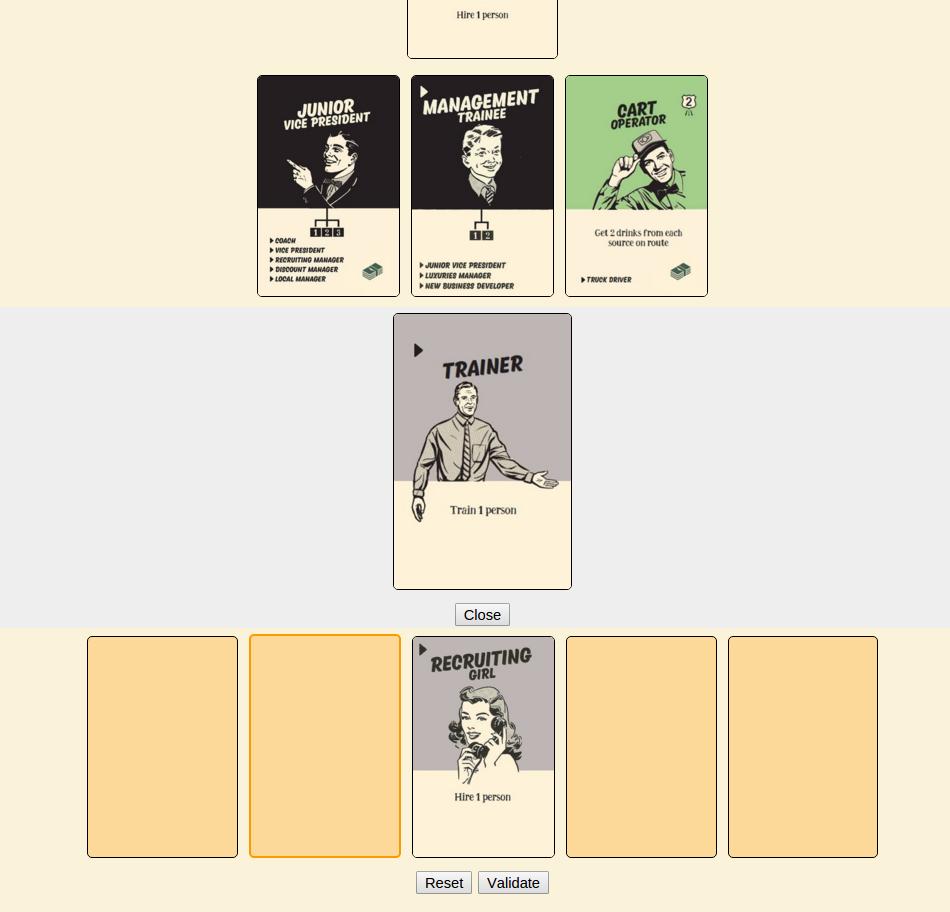
During the restructuring phase, you will be required to choose the hierarchy. Click on the space you want to fill :
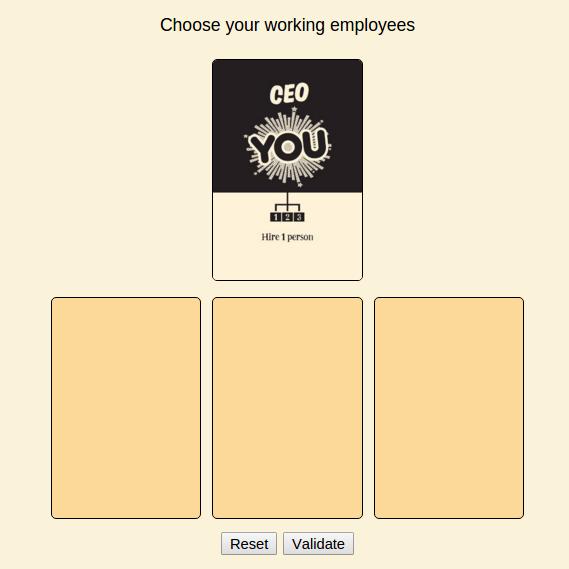
Then choose the employee you want to put at this place :
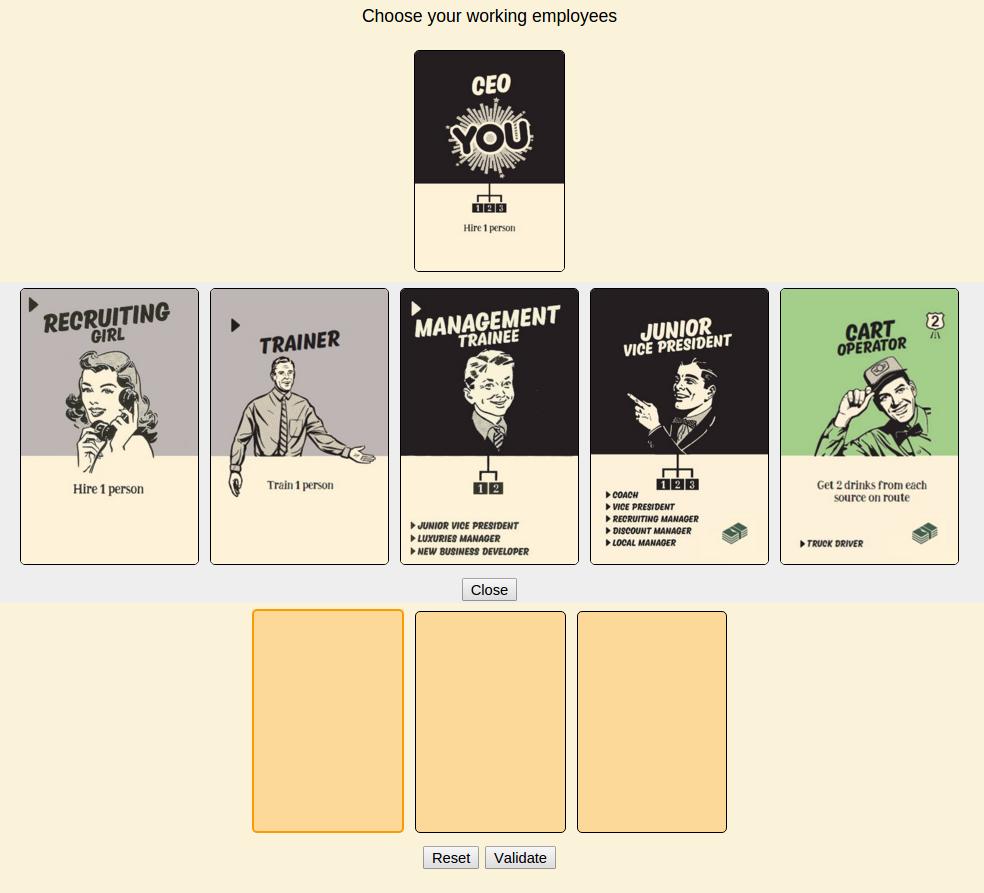
Do the same for the second row if you have one, and then validate :
When starting a new marketing campaign, you have to choose:
You can now choose where to put the new campaign token. You can change the orientation by clicking on the matching token, above the board. The red squares indicate the possible spaces for your campaign
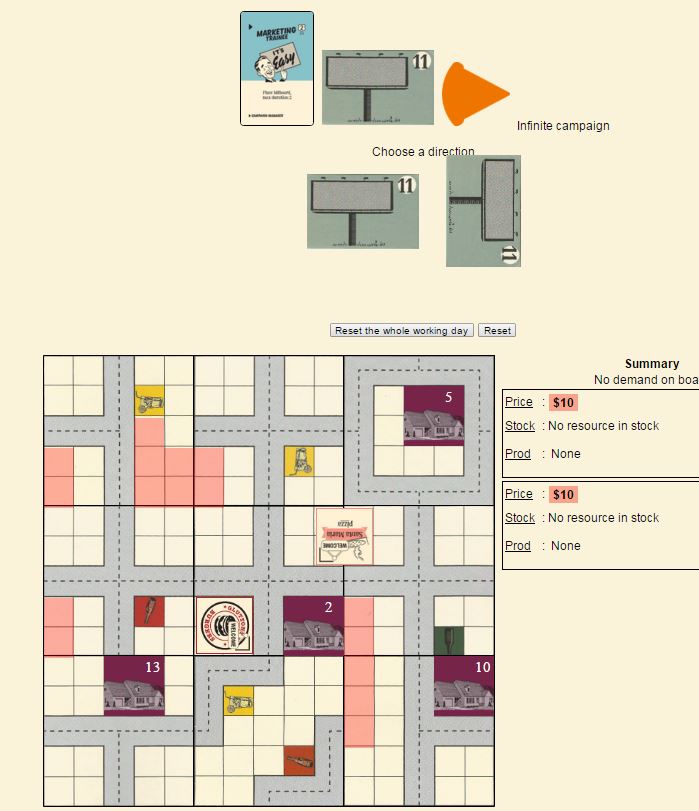
Remember the following rules:
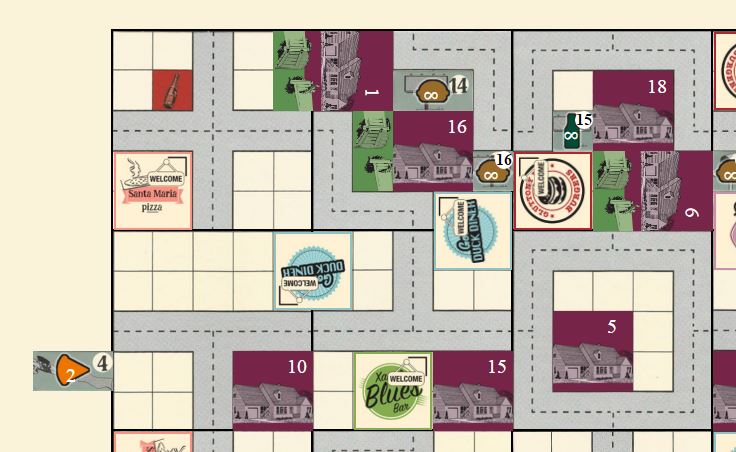
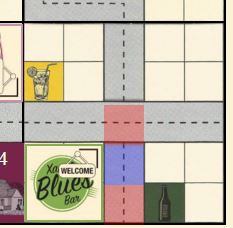
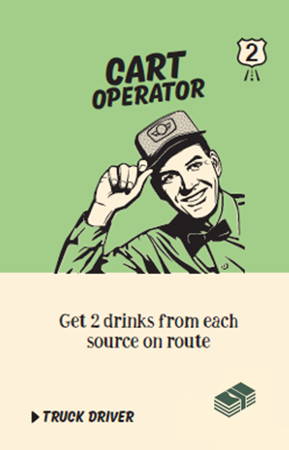
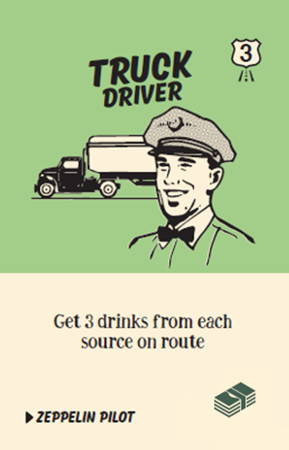
Cart operators, truck drivers and zeppelins browse the map in order to collect drinks. When choosing one of them, you are required to select a starting point (highlighted in red), near any of your restaurants (Xango blues bar is playing here) :
Be careful: bridges won't allow you to turn. In the next picture, Xango chose to start from his right. He must go under the bridge, to the north, and cannot turn on this tile.
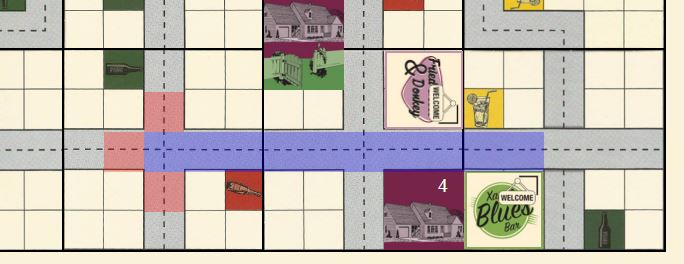
Each time your collector encounter a new intersection, you are required to choose his path (red spaces). The collector path is highlighted in blue.
Here, Xango chose to start from the space directly above him :
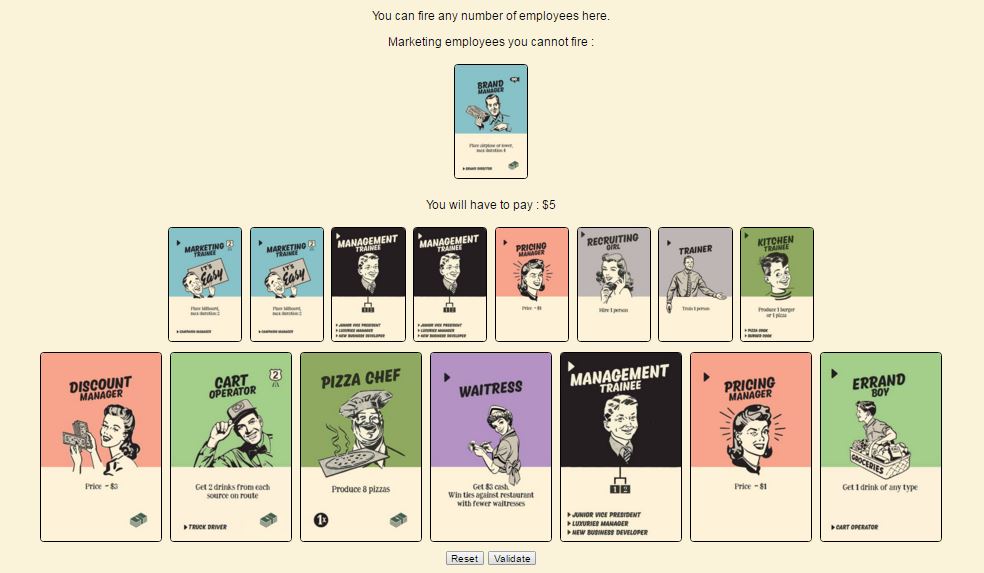
During the payday step, you may want to or have to fire employees. Select the employees you want to fire. Employees who are receiving a salary are displayed first.
In the next picture, we can see a warning because the current players doesn't have enough money. He must fire employees until he can affort to pay the remaining employees (or nothing, if no employee requires a salary).
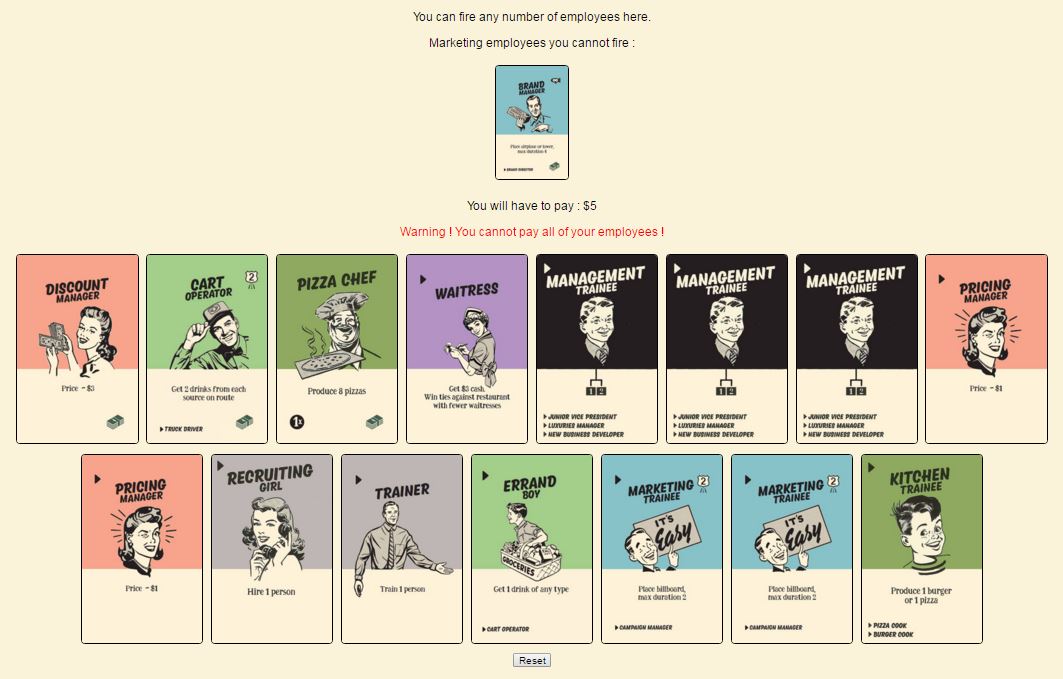
The fired employees are shown in a smalle size above your employees. Once you are done with firing, validate your move.
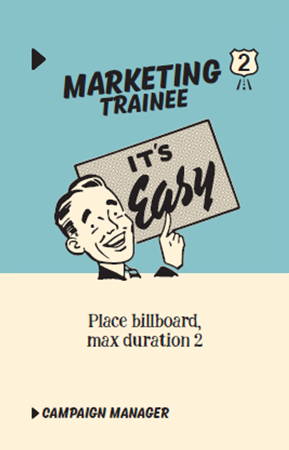
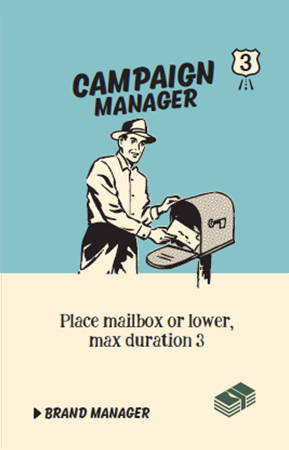
A few employees are restricited to a specific road range:
All ranges are calculated from a restaurant entrance, and not from a space adjacent to an entrance (going out of a restaurant is already moving). In the following example, leaving Xango Blues bar makes us changing tile, and thus "losing" 1 range.